Maybe you’ve yearned to do a whole-house remodel at your home, but the cost and the trouble make a total rehab impossible. If you have DIY skills, you might consider taking on a weekend project once a month that will help fix at least one scruffy room. Over a year’s time, doing one room a month, you can end up with a house that might surprise you.
Here are ideas for spiffing up living spaces in a weekend. Not every room will need all these jobs, of course, but doing two or three of these fixes could transform a room that used to make you cringe.

Will the room and your work look flawless? Maybe not, but if you work carefully, you’ll probably feel very comfortable with the results. Be patient: For many of us, two or three days might stretch into a couple of weekends. So here are five possible ideas:
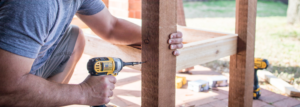
1 | Update old metal hardware on doors, windows and cabinets
It may seem obvious, but this is a great fix for bathrooms and kitchens. Maybe you’re living in a 20-year-old house that still has the original builder’s polished brass hardware. Maybe you yearn to try brushed nickel or oiled bronze instead. This job can speed up with aid of a power drill. Don’t worry if every metal object in the room doesn’t have exactly the same finish. Mixing metals isn’t a DIY faux pas; plus, you can change the metal on the overhead fan next month.
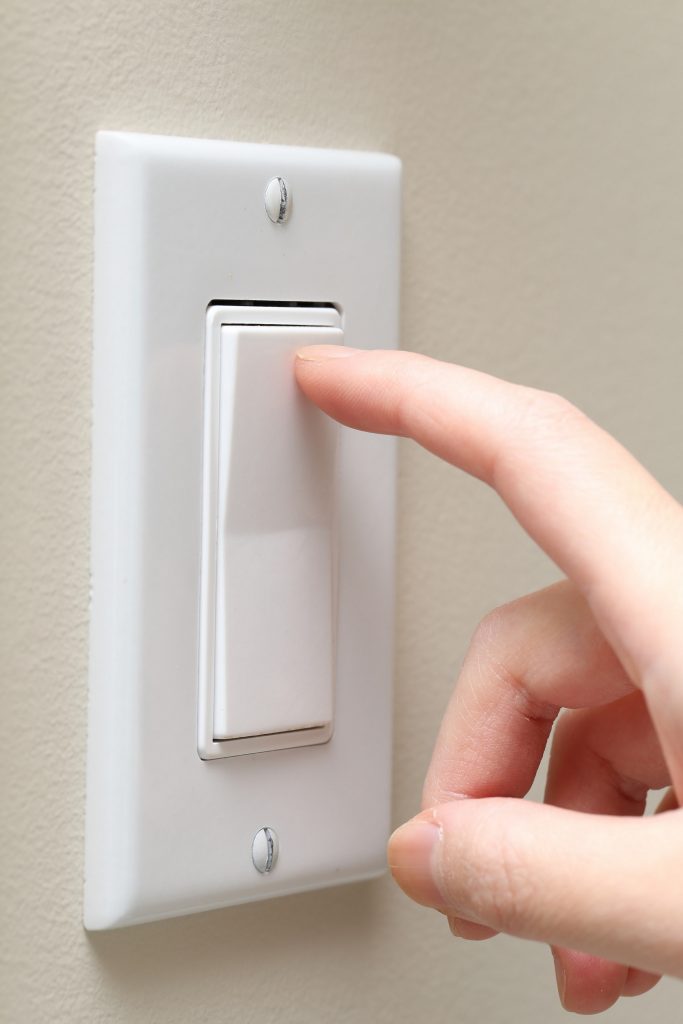
2 | Junk those yellowing plastic electric outlet covers and switch plates
This can be a fix for any room or maybe all of them. You can also replace the register covers, too. These are relatively easy fixes, though for safety’s sake, be sure to turn off the power to the room before you unscrew anything. If you want to replace the switches, too, like installing a dimmer, the job will be more complicated; maybe it’s time to call an electrician.
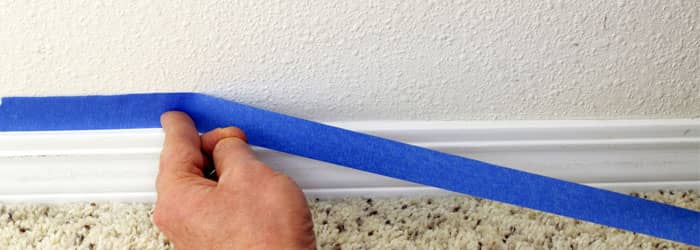
3 | Paint the baseboards in one room or all of them
If baseboards have just a few scuffs, repaint just the dirty spots. With big messes, you may decide to repaint all baseboards. Use two coats of semi-gloss or satin-finish paint so baseboards will be easier to clean later. First, sand the baseboards; then vacuum and wipe them with a wet cloth to remove the dust. Use painter’s tape and a drop cloth to protect the floor; the same tape can be used on the wall above the baseboard to protect it from paint.
4 | Repair all or part of a chipped/cracked door/window casing where needed
The casing is the wooden trim covering the area between the door frame and the surrounding wall in a house. What makes the casing fairly easy to remove and replace is that the hinges and trim-ring for the latch on the door are attached to the door frame — not the casing.
First, measure your current trim for the sizes of three basic strips of wood: two vertical pieces of casing and the shorter horizontal casing at the top of the door. Then take a knife and cut caulking away on both sides of each piece of casing – both the caulk between the wall and casing and the caulk between the casing and door jamb. Ever-so gently use a pry-bar to force the casing off the wall and door frame. The old casing will leave “lines” on wall and frame that you use later to position new casings. The new casing goes where the old once was.
Now, double-check by measuring sizes of the pieces you removes from the doorway to compare to measurements taken before. Then take a sample of the old casing to a hardware store so that you can buy the right size and style of materials. Get three separate long pieces.
Back at the job site, lay an old piece of casing on top of the new piece of material for the right-hand vertical side of the door trim and mark a 45-degree angle to cut with a miter-saw. Make that cut plus another cut at the bottom where the casing hits the floor. Repeat for the cuts on the left-hand vertical piece and on the over-door piece.
Re-nail casing pieces in place with small finishing nails. You nail one edge of the casing to the wall and one into the door frame. You want the nails to be about 18 inches apart. Set or recess the nails with a nail set. Fill nail holes, corner joints and any gaps between trim and wall with painter’s caulking. Then you can repaint the trim and edges of the wall.
5 | Clean and seal the grout on walls finished with tile
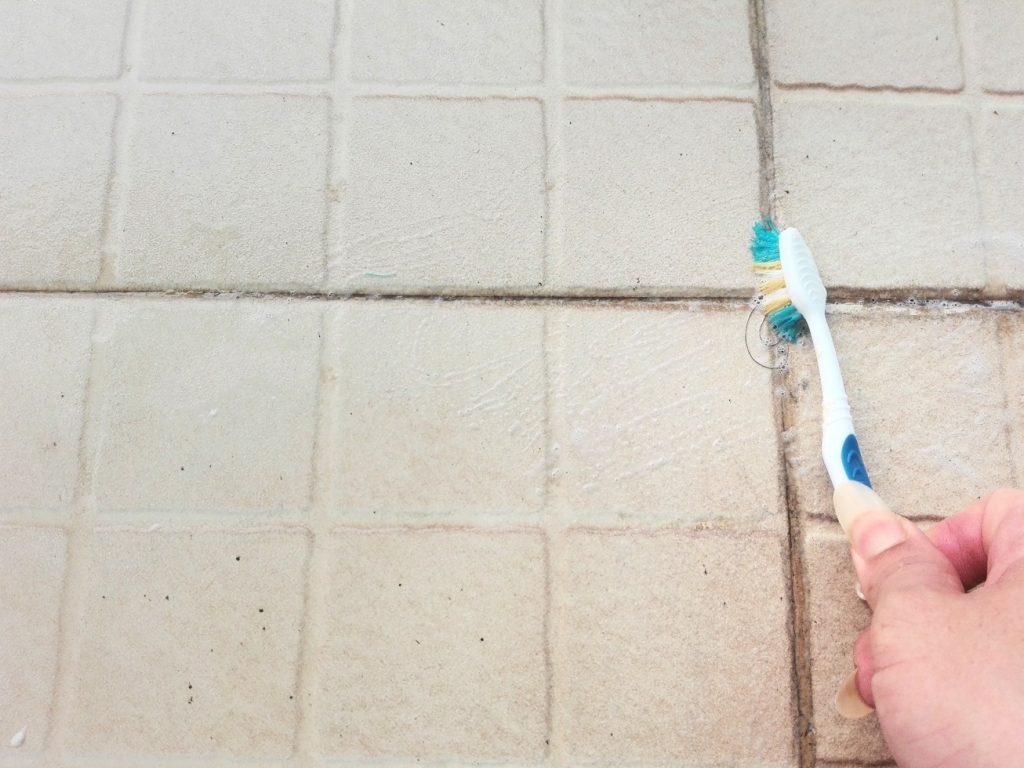
A simple, possible fix often overlooked for bathroom shower walls or a kitchen back splash. Daily doses of oil, grease, and soapy water can make that cement-based grout look ugly.
To start, use mild cleaning products like warm water mixed with a few drops of dish soap while scrubbing with a stiff toothbrush. Rinse well with clean water and allow the area to dry thoroughly. If dish soap doesn’t work, try a half-and-half solution of vinegar and warm water or a paste of baking soda and water. Rinse again and dry thoroughly.
Bleach-based and commercial cleaners can mar your tiles’ finish. And if you have natural stone tiles like granite or travertine, use only the very mildest cleaners on those grout lines, nothing acidic like vinegar.
After the areas dry, you can seal grout to prevent mold, mildew and bacteria in cleaned grout lines. You should only seal cement-based grout. But it’s easy to do with a grout sealer that comes with a brush tipped applicator. Read manufacturer’s instructions and then apply sealer to small areas at a time. Use dry clean rag or paper towels to wipe off excess sealer. Allow to dry again, and then apply a second coat. Test the surface with a few drops of water. Liquid should bead up into droplets. If not, apply a third coat.
After finishing off a few of these issues, you’ll be ready to repaint whatever room you fixed up. But of course, that paint job will take another weekend.
###Cleaning