We will continue our discussion on prepping for summer with a look at the tasks you can undertake to care for your mini-split HVAC systems this week.
What is a Ductless Mini Split System?
A mini split is a ductless HVAC (Heating, Ventilation, Air Conditioning) system designed for a single room or area of your home. They are ideal if you want to heat or cool a space that your household system doesn’t include.
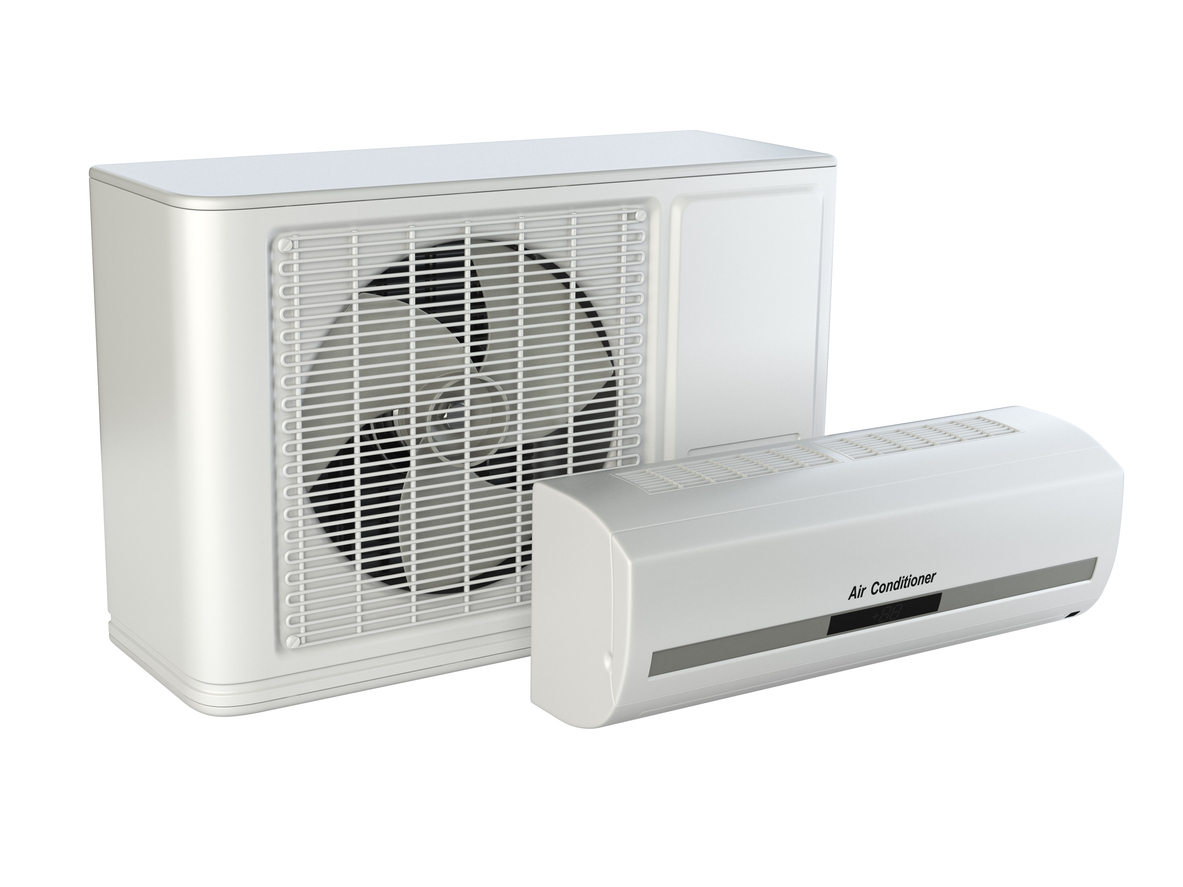
There are two types of units. Single-zone models are the most common. They have one part mounted high on an inside wall, with another part on the ground outside.
Multi-zones are available, with one part located outside and 4-8 zones mounted inside.
The fan and transfer coil are located in the indoor unit. The fins where heat is either absorbed to take it away from the room or pushed out into the room, live in this unit. Typically, it is installed high on an exterior wall.
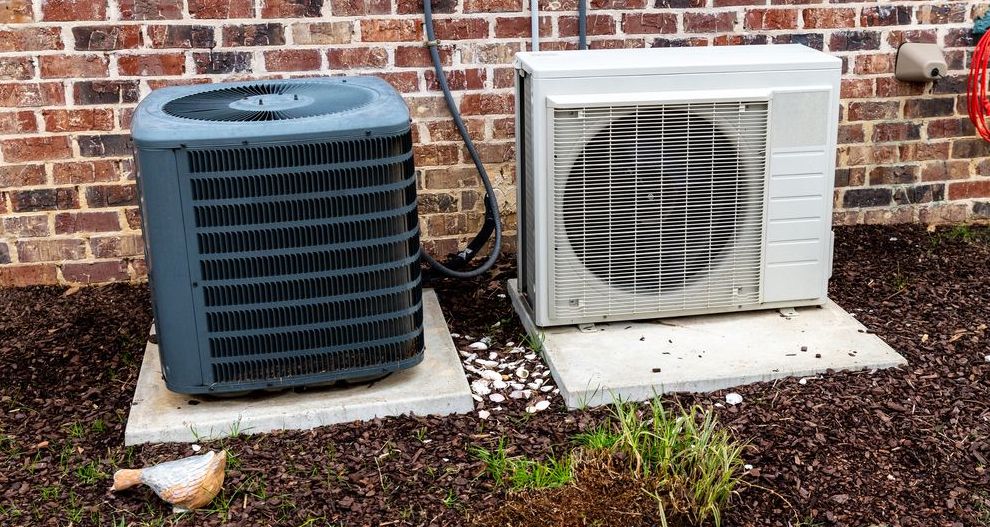
The outdoor piece is the condensing unit, where the refrigerant fluid is cooled by condensing it and releasing the absorbed heat in the outside air during the cooling cycle. This piece will be on the ground, just outside the indoor part of the system.
The two parts are connected by electrical and control wiring, as well as the refrigerant lines.
Because the air is delivered directly to the designated space, mini-splits tend to be far more energy efficient.
How Does Mini-Split Work?
For heating, the device utilizes heat pump technology to transfer heat from one area to another. Heat is removed from the indoor space during the cooling cycle and then delivered back to the same space during the heating cycle.
In the cooling cycle, the coil inside collects heat from the room via the refrigerant fluid and exhausts it outside. In the heating cycle, the opposite takes place. The heat pump technology can extract heat from outside air, even from air with temperatures below freezing.
How Do I Maintain My Mini-Split?
A mini split will benefit from professional-level service by a licensed contractor at least once a year. Checking the refrigerant levels and recharging them if needed requires specialized equipment and training.
Professional service also includes examining the device and the lines for any signs of wear, damage, or leaks.
As with any household device or appliance, a regular maintenance and cleaning routine will ensure proper operation and maximum efficiency.
Regular DIY maintenance of your unit should NOT be done without instruction. Read the manual and ask your installers to coach you through the steps before attempting any maintenance. Improper maintenance, such as allowing water to enter the control panel or using soaps or chemicals, will void your warranty.
Safety First
Start the cleaning process by turning off the electrical circuit breaker.
INDOOR (air handler)
- Filters | All high wall units have washable, not replaceable, filters. Clean filters once a month or so, depending on dust levels. If you have pets, you should clean them more often. Remove the filters on most units by pulling them down after opening the cover in the area where the vents are located. Using a vacuum with a soft brush attachment will work in most instances. If you find that it is not removing everything, use a soft cloth to wipe off the filter, or if it is washable, clean it off in your sink. Do not use any chemicals or soaps to clean the filters.
- Housing | Once you have removed the filters, and without dismantling the cowling that covers the unit, use the vacuum with the soft brush attachment to clean the vents and directional vanes of any dust or debris.
- Beyond the Housing | For a deeper clean, remove the cowling that covers the unit by loosening a few screws (don’t lose those screws!). This will expose more of the interior fan and the transfer fins. **Cleaning here is tricky as you don’t want to bend or damage the fins. They are thin metal and can bend easily. Use compressed air from an aerosol can, the same kind used to clean your computer keyboard, as it is the best option. This product will keep you from touching the delicate metal fins.
OUTDOOR (Condenser)
Turn off the circuit breaker for safety.
You will want to do this every six months or so, depending on the level of dust and dirt in the area around the unit.
- The condensing coils, housed in a box outside, need to be cleaned. Dust and wind-borne debris collect on the coils, reducing their ability to transfer heat efficiently.
- The best method is to use a garden hose with normal pressure to direct the flow and clean out between the many thin, flat aluminum plates that are exposed to the air. These plates are also delicate and easily damaged, which is why you should avoid using high-pressure water or steam.
- Clean around the ground-mounted equipment to remove any debris, leaves, or pet hair that might cause damage or, more importantly, impede heat transfer.
Allow the unit to dry completely before turning the circuit breaker back on.
Mini-splits are significantly more efficient, primarily because they do not push air through ductwork, which is beneficial. The downside is that without ductwork, a mini-split air-conditioned room has little to no air filtration. One solution is to use a separate air filter in the space cooled by a mini split.
###
Homeowner Handbook | #CaringForMiniSplit
PHOTO CREDIT
- IStock