How To Prep Interior Walls For Painting
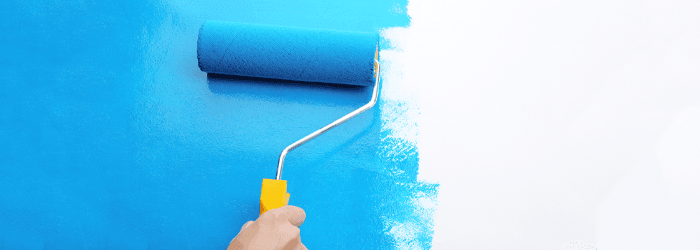
It’s tempting to dash over to the home store, bring home a bucket of paint, rip off the lid and slap the color on the wall.
Slow down!
A good paint job starts long before you start rolling on the paint. Make your next do-it-yourself paint job the best one your house has ever had, no matter how old your home is, by doing a little prep work.
Here are the steps you will want to take to bring out the best in your project:
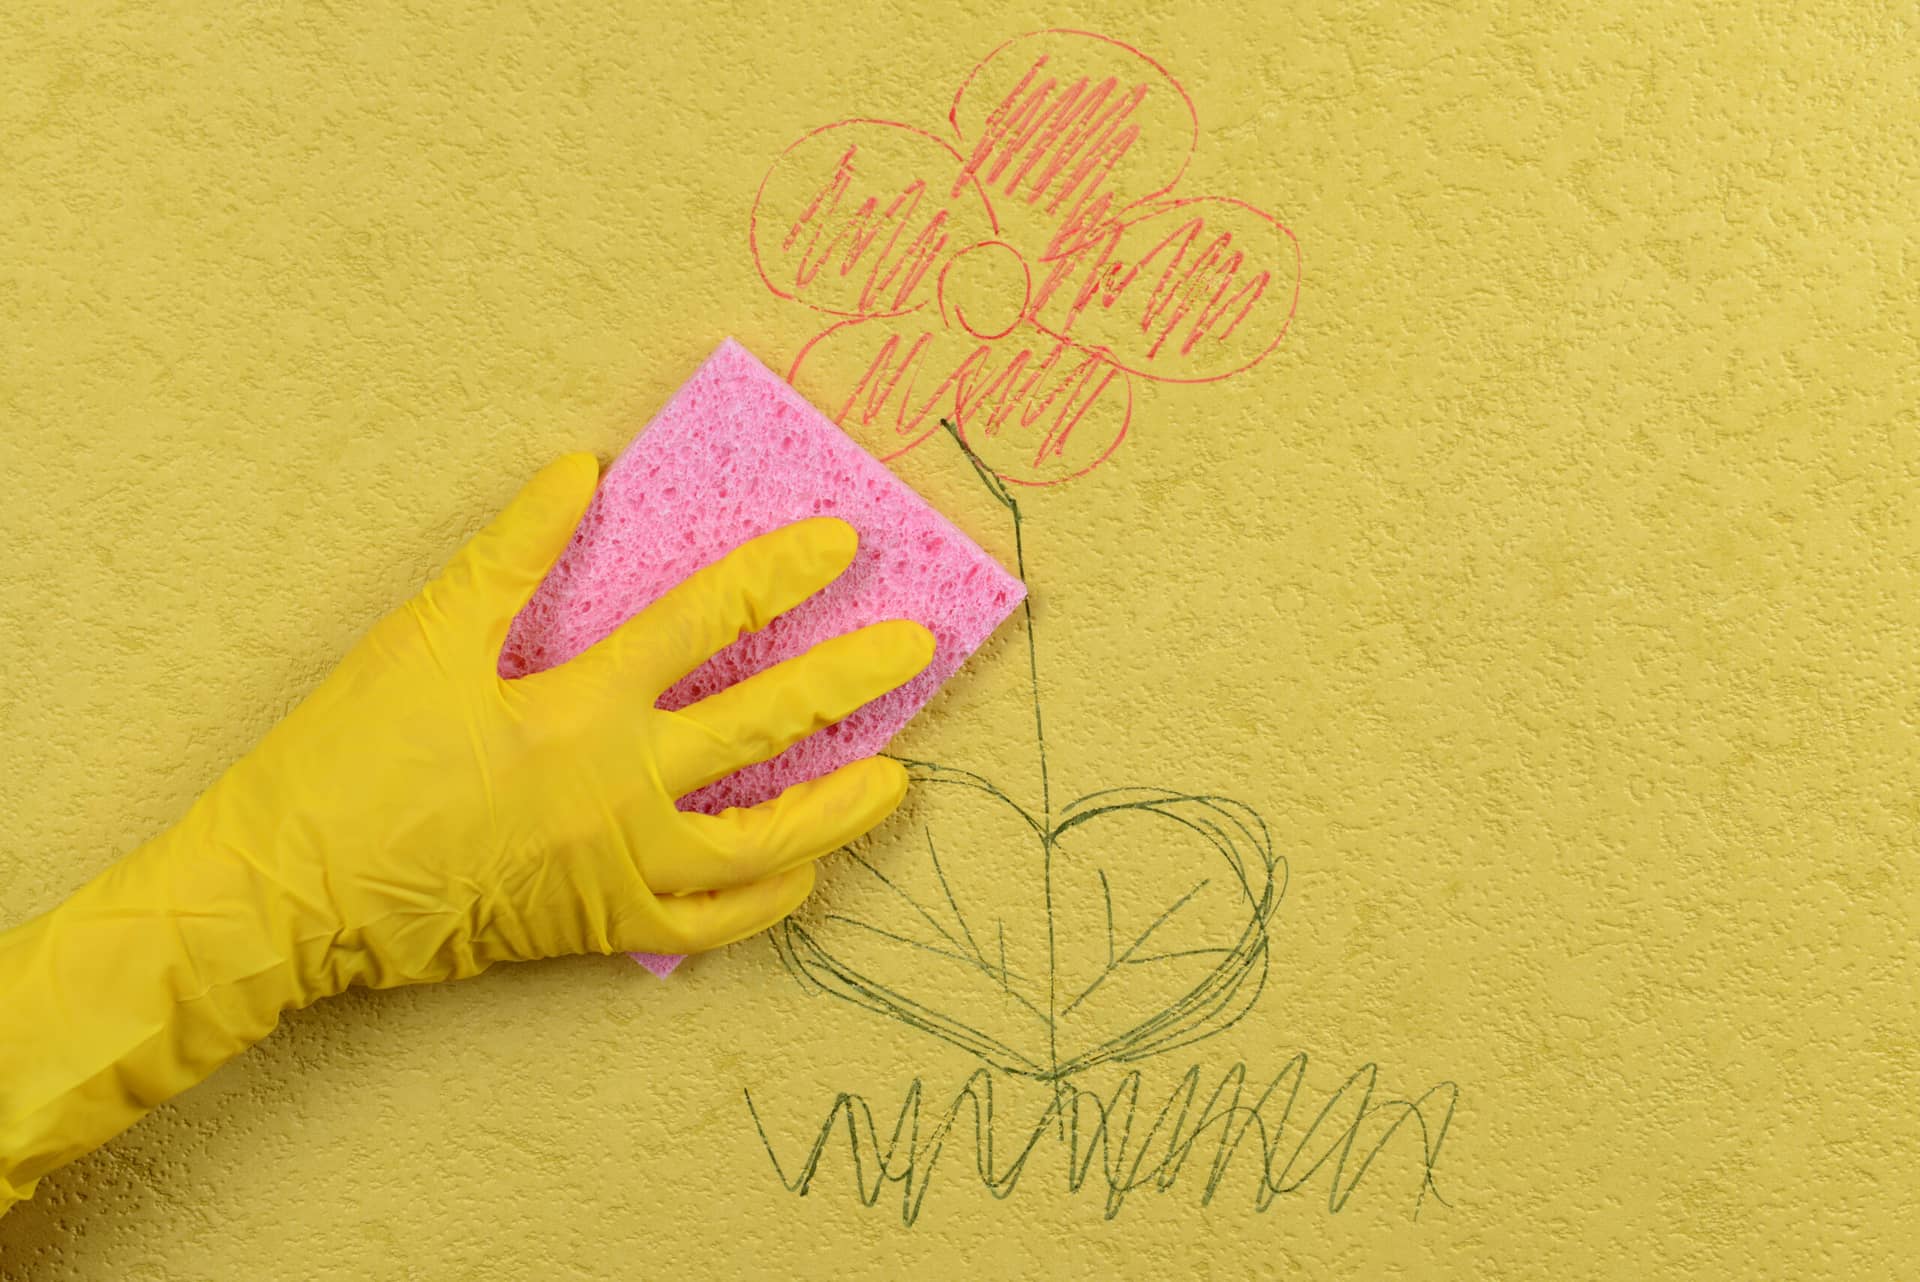
Step 1 | Clean the walls.
The quality of any paint job depends on how well you prep the walls. Start by pulling on a pair of big, thick rubber gloves and eye protection, and then wash your walls with the cleaner TSP (trisodium phosphate) and rinse them with clean water. This will be the start of the best paint job your house has ever seen.
Step 2 | Inspect for flaws.
Once walls are sparkling clean, take an inch-by-inch survey of their surfaces. Check for scratches in the drywall texture,maybe from moving furniture,or ink stains left by a super-creative child. Seal the ink stains in by spray- painting a primer called KILZ, just on those spots. Cover imperfections in the drywall texture with a simple application of drywall mud.

Step 3 | Apply a colored primer.
If your walls have been painted before, you only need to spray the primer over the holes and scratches you repair. If you’re painting never-painted walls, though, you’ll need to prime them. Most paint primer is white, so ask your paint store add a little bit of umber, a clay pigment, until the primer takes on a slight gray color. Once the gray-tinged primer is on the wall, it will accentuate any imperfections, giving you one final chance to make it perfectly smooth before applying the paint. And once you paint over the primer, you’ll be able to clearly see any areas where the paint has rolled on too thin.
Step 4 | Search again for imperfections.
Before you apply the paint, hold a large spotlight a foot or so from the wall. Put your nose that same distance away from the wall and allow the light to show you any last little imperfections in the texture. Rub a thinned-down mixture of drywall joint compound over the flaws, using an eight or 10 inch drywall knife. Let it dry, re-prime just those little spots, and you’re ready to paint.
Do this important prep work, and you’re going to see a richness and depth of color on that wall like you never dreamed possible!
###
Homeowner Handbook | #PrepYourWall
PODCAST
Joe Miller of The Arizona Painting Company shares tips and tricks for the do-it-yourselfer. Starting with proper preparation of the painting area before you paint, we also cover selecting the right paints for ceilings, walls, and doors. Joe shares brush and roller application tips, and proper clean-up of brushes and rollers for the next project.
Podcast Archive With Expanded Content and Resources
PHOTO CREDIT
- Shutterstock